Hand soldering PCBs
Ordering PCBs
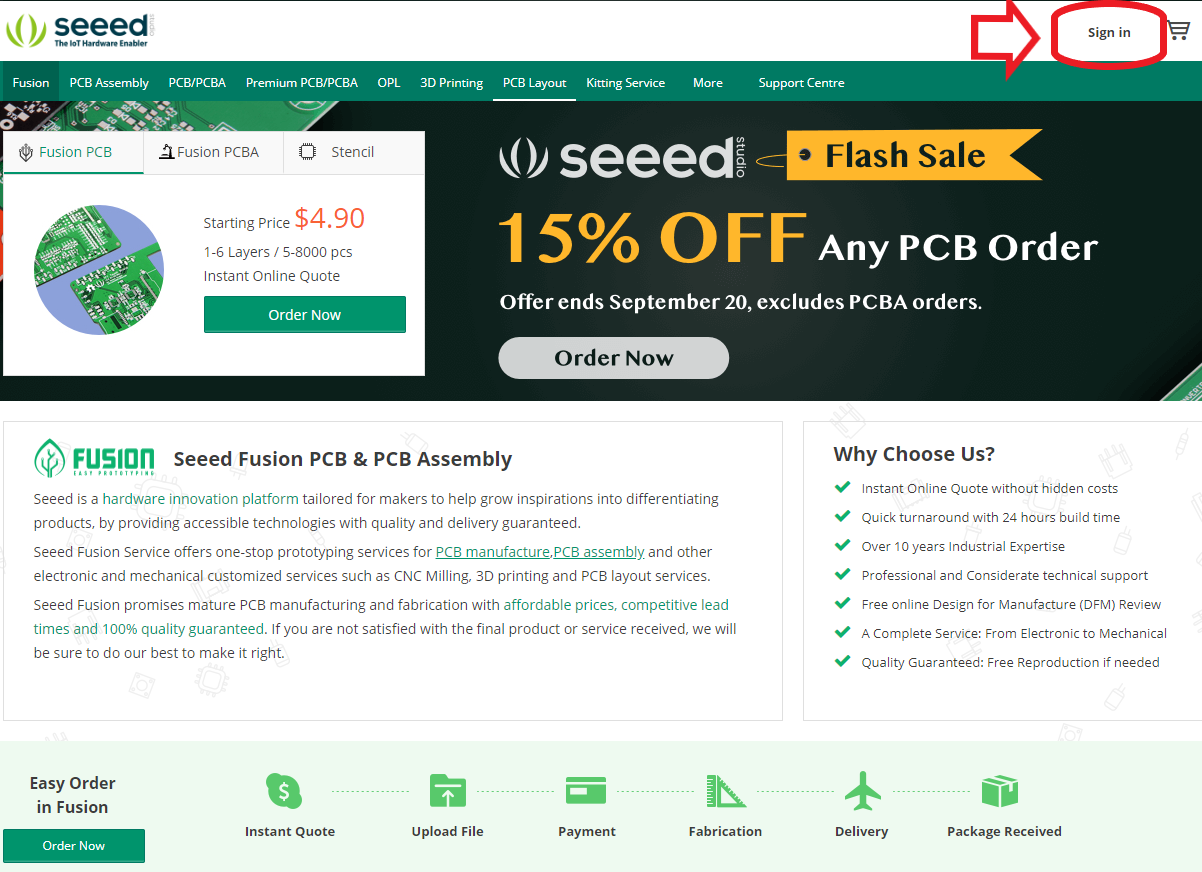
You can purchase PCBs from many websites, including Seeed Studio, with some able to deliver in under a week. In this guide, we cover the process using Seeed Fusion, but this should be very similar to other sites.
1) Login or create an account at https://www.seeedstudio.com/fusion.html
2) Click on 'Order Now'.
3) Upload Gerber Files.
4) Adjust settings:
PCB quantity
Surface finish: HASL Lead Free
5) Add to cart and order!
Parts to order
As the board has additional pads for SMD/through-hole mounting options, you don't need to populate every part. If you're soldering by hand, we recommend avoiding all SMDs by populating the board according to the table below.
Part | Name | Options |
Voltage input | DC_JACK / DC_JST / DC_SCREW | Barrel jack or JST or screw terminal |
Diode | D1A / D2A / D3A | 40V, 1A, Match voltage input (D1: screw terminal, D2: barrel jack, D3: JST) |
Resistor | R1A, R2A, R3A, R4A, R5A | 5x 10k through hole resistors |
Grove connectors | PM1-(UART), PM2-(UART), RTC-(I2C), TH-(I2C), GPS-(DIG) | 5x Grove connectors |
Button | CONFIG | Standard 4-leg min |
Connector for Micro SD | BOB_SD | 8-pin header (see hint) |
Voltage regulator | V_REG | TSRN 1-2450 |
Data in/out | USB_DATA | 3- or 4-pin header |
Connector for LoPy4 | J1, J2 | 2x 14- or 16-pin headers |
N-channel MOSFET | N1A, N3A | 2x N-channel MOSFETs |
P-channel MOSFET | P1A, P2A, P3A | 3x P-channel MOSFETs |
For experienced solderers:
It's more space-efficient and cheaper to use a surface mount Micro SD slot instead of the 8-pin header + breakout board.
Soldering step-by-step
Last updated